PVE Resize Disk
Table of Contents
I just recently updated my local proxmox server volumes moving from a 500GB consume spinning disk to a 1TB enterprise SSD and here is the how and why of the process.
What was the problem?
The reason for this change was to solve a few issues I was having with the ISCSI target I was using for my VMs. Initially, I had my VMs all running from a single ISCSI target, which was fine for a while, but when I wanted to backup my VMs on proxmox, I was maxing out my 1Gbps network connection. This was causing my VMs to be unresponsive during the backup process which in turn caused my VMs to be corrupted.
So to solve this, I moved my VMs to local storage on my proxmox server hosts. In the future, I will be taking a look at moving back to the ISCSI target, but I will need to upgrade my network to 10+ Gbps to ensure that I can backup my VMs without causing any issues.
In addition, I also moved to proxmox backup server, with a 1TB nvme drive mounted on the host and passed through to the VM. This allows me to backup my VMs without causing any issues with the VMs themselves. I moved to proxmox backup server as it has a deduplication feature that allows me to save space on my backup server and allows me to capture deltas of my VMs. This reduced my backup size by a factor of 30. So all of my homelab stuff now only takes up 55.55GB when backed up and I reduced the amount of time it takes from 130minutes to 3 due to the delta backups.
While it is now possible to move back to ISCSI with the proxmox backup server in place, if I add more VMs to my homelab it is possible that the initial backup could still max out the network connection, so I am going to avoid that for right now.
Why Enterprise SSD?
The reason to move to an enterprise SSD is really simple, it is more reliable than a consumer SSD. The enterprise SSD has a higher write endurance, which means that it can handle more writes before it fails. The ssd that I landed on was a SM863a, which has a write endurance rating of 6,160 TBW. This means that I can write 6,160 terabytes of data to the drive before it fails since I landed on the 960GB model. This means that basically, this drive will never fail in my homelab.
Secondly, because their drive endurance is so high, you can find them on the used market for a fraction of the cost of a new consumer SSD. I was able to pick up 6 for $360.
The process
Anyways, back to the topic at hand, Instead of reinstalling proxmox on these machines, I used a sabrent device to clone the spinning disk to the SSD. This was a simple process, but it did take some time to clone and then resize the disk.
First let’s clone the disk, I used a sabrent device to clone the disk, but you can use any disk cloning software to do this.
Once the disk was cloned and installed in the sever, ssh into the proxmox server and run the following commands:
| |
When finished, list out the block devices on the server with the following command:
| |
We can see that the sda disk is 894.3G and the sda3 partition is 464.8G. We need to resize the partition to the full size of the disk. To do this, run the following command:
| |
If we run the lsblk command again, we can see that the partition has been resized:
| |
Next run Detect any changes in the size of the underlying partition or disk that sda3 resides on and then resize the logical volume. To do this, run the following commands:
| |
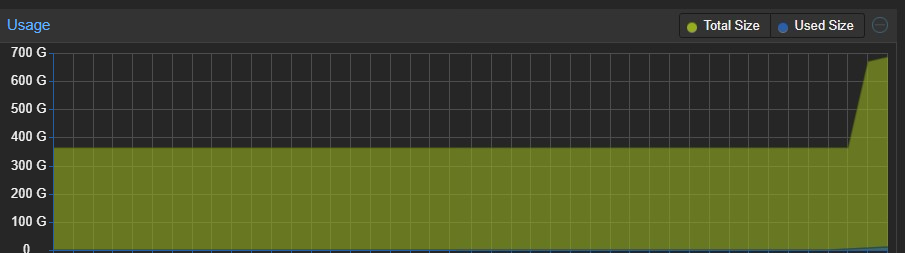
Now, if you log into the proxmox web interface, you can see that the disk has been resized to the 637.86G that we specified. I didn’t want to extend to the full drive as it is always good to have some extra room in case needed.
I hope this helps you on your homelab journey!